Where am I ??!!
Marking parts....yea, it can be a bit of a drag. But, having a part marked correctly and succinctly can make your life (and your experience behind the timpani) a whole lot better, so that you will never have to ask that question......WHERE AM I?
Marking a part for a timpanist usually starts with a tuning scheme....which should always be at the top left of your part. You might be thinking, for a Beethoven or Mozart Symphony, "What's the big deal? Just tune your two notes and go about your business!" But, au contraire, marking a part goes beyond just putting in your tuning scheme. You can give yourself little clues here and there about musical reminders, articulation details, muting hints.....well....you get the picture.
A properly marked part will not only make you a more efficient player, it will also make you more relaxed....and a relaxed musician is a musical musician. For instance, you're playing through some piece or opera, and sure, you've played it before, so you're feelin' good. You hear that cue that you know so well, which is two bars before you play, but, no need to mark it because you're all over it....no sweat. You come in confidently with a nice big ff entrance...and....whoops, you just became a soloist because you come after the second time you hear that cue......if only you would have noted that in the part.

fig. 1
Marking in tuning changes can differ from player to player, but I find the following method the best. I start my tuning scheme with the note and a circle around it. I play American system, so I put the notes...let's say A and D on the two middle drums, like so (fig. 1): Any drum you're not using has an "X". If you're using four drums then fill in all four circles: (fig. 2). If you play German system (low drum on the right), then just reverse everything.
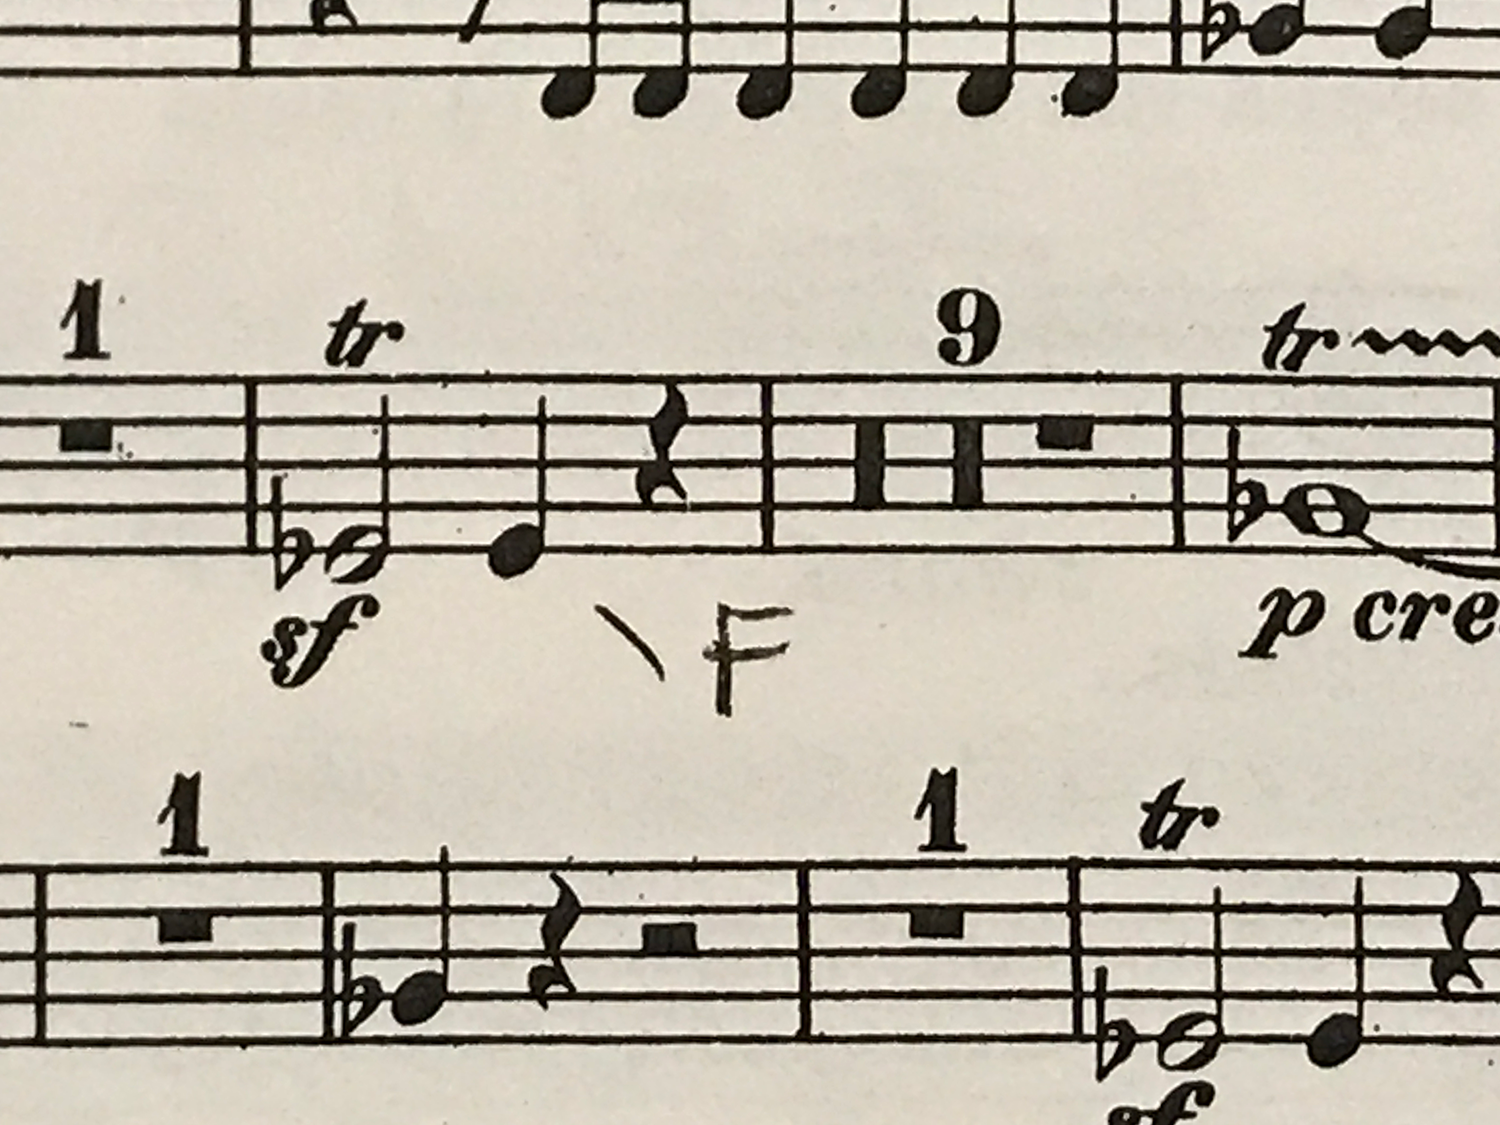
fig. 3
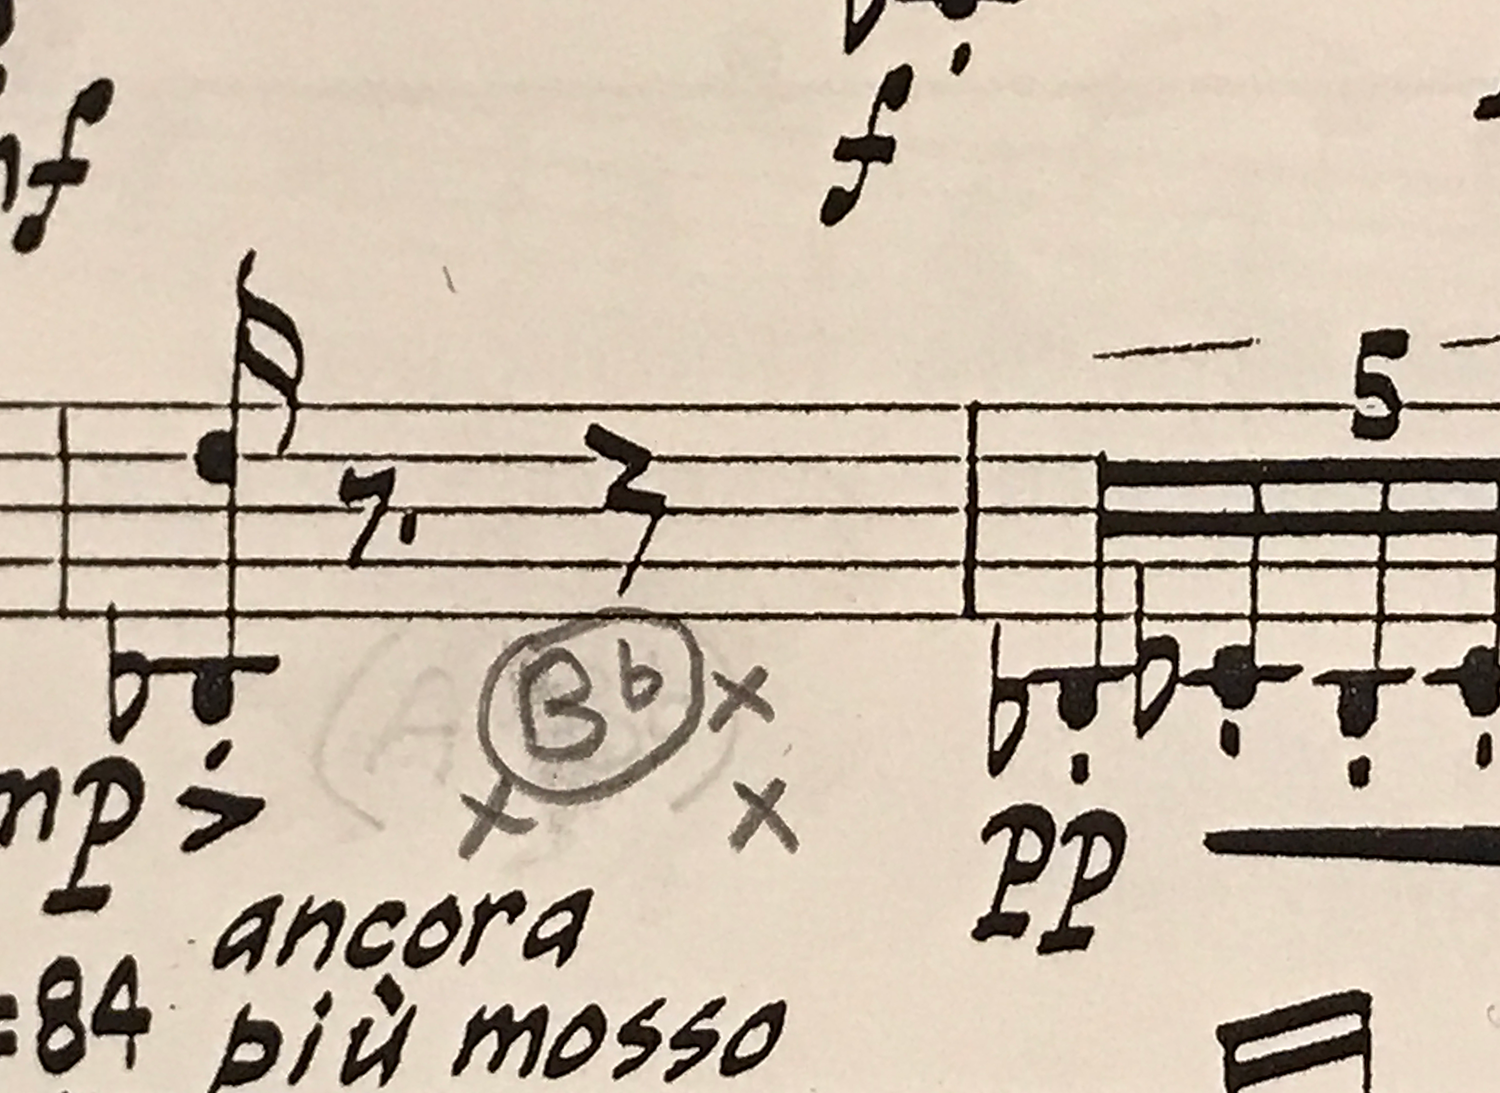
fig. 5
The idea is to make it as simple as possible so you can glance at the part and know where to tune. For example, you're cruisin along on piece "X", and then you have to change your G flat to an F. You can just use this method if it's just one note: (fig. 3) or if it's a few notes just use the same method as when you started. (fig. 1) If you marked it this way: (fig. 4),
by the time you've figured out which drum the A is on, and tuned to your B flat, you've lost your place. Doing it this way instead (fig. 5) is quicker and easier to read. It doesn't matter what the previous note was, it just matters where you're going! Sometimes you might have some complicated foot work coming up, so a reminder like this (fig. 6) beforehand could save you from missing a tuning. This particular reminder is just telling you which pedals your feet should be on.
Marking in articulations or muting is also very helpful for a timpanist or anyone for that matter. Most timpani parts will typically not indicate how long or short a note might be. For instance, lets say you have this part at Fig. 7 in front of you. Looks simple enough, but what really is happening in this particular part is this: (fig. 8). Often times the correct phrasing or nuances are not anywhere in the hemisphere of a timpani part, so helpful reminders will be a life savor.

fig. 7
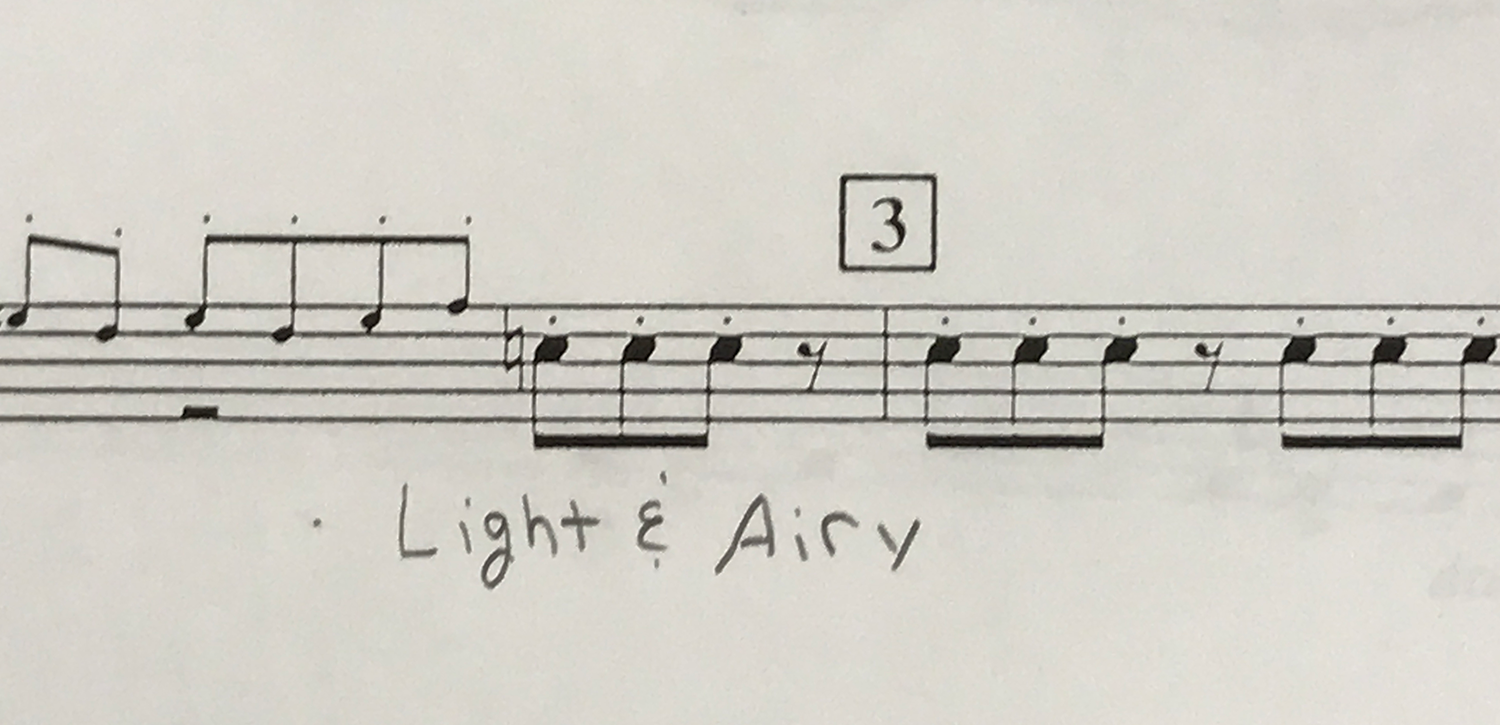
fig. 9
Developing your own set of directions that make sense to you is a great idea. You can either write an explanation near your entrance(fig. 9), or sometimes just a symbol is enough (fig. 10). Also, as you are sitting in a rehearsal, it's best to have a pencil handy and mark in that prominent Oboe entrance at five after letter F, and so on. Come concert time you'll be glad you did.

Fig. 2

fig. 4

fig. 6

fig. 8

fig. 10